

This month-long mobility program will help you tame joint pain, improve flexibility and move with ease. Get all the details on the challenge here.
Getting on the floor can help you exercise your muscles and joints in some unique ways. Plus, with more contact with the ground — hands, knees, toes and perhaps shins and tops of the feet — comes greater stability and a feeling of strength and groundedness.
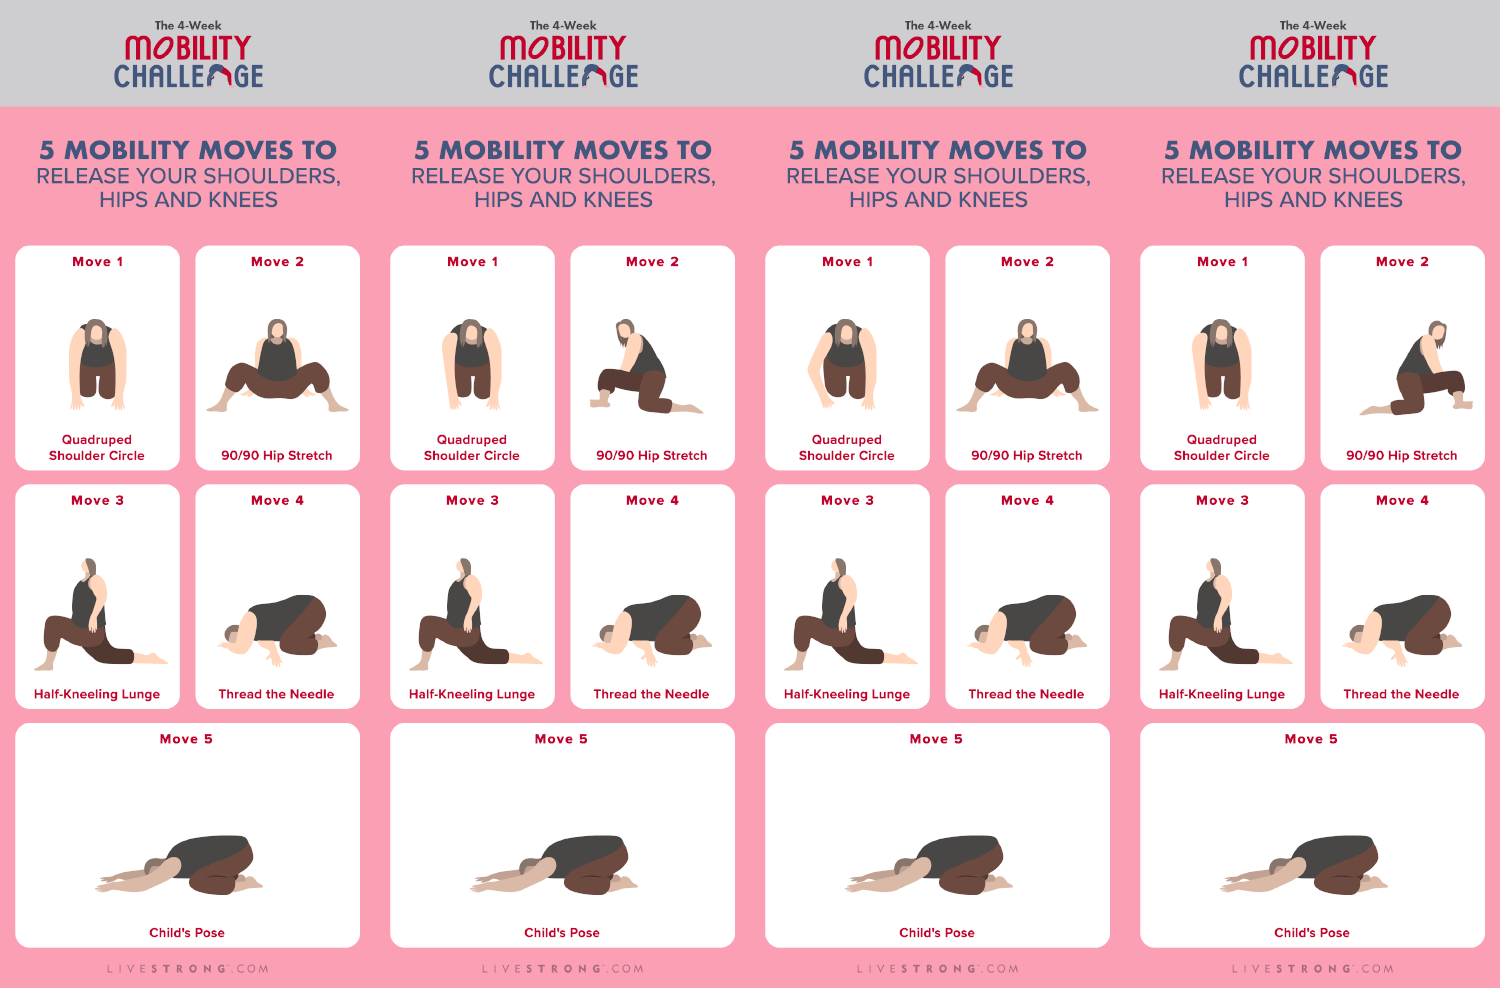
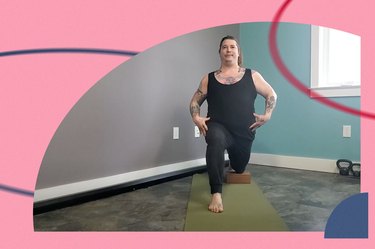
These five moves from Lore McSpadden-Walker, CPT, founder of Positive Force Movement and host of our 4-Week Mobility Challenge, mix common stretches with variations you may not be used to. But they'll help you release tension from your shoulders, hips and knees.
Video of the Day
Tip
Below are instructions to guide you through one rep of each move. Repeat as many times as feels good and at a pace that works with your body.
Start with two to three breath cycles — one inhale and one exhale is one cycle — then see how you feel. Continue for up to 2 minutes. Repeat for up to 3 sets of each move.
If you’re especially tight in a specific area, you may want to slow down or not stretch as deeply. Or if something feels really good, repeat or hold for as long as you’d like. Remember: This is your practice!
1. Quadruped Shoulder Circle
- Start on all fours — hips under knees and hands under shoulders.
- Starting with your right arm, roll your shoulder forward in a circular motion. You'll likely need to bend your right elbow a bit to accommodate this.
- Then roll your right shoulder backward in a circle.
- Repeat on your left shoulder, making sure each side gets as much attention as it needs.
- Then, if you'd like, roll both shoulders together — first forward, then backward.
Tip
"These can be done slower if that feels better for you, and the range of motion is different for each person," McSpadden-Walker says. Play around with what feels best for your body.
You can also try this move while standing or seated, if getting down to a kneeling position isn't an option for you.
2. 90/90 Hip Switch
- Sit on the ground with your legs extended out in front of you in a V shape.
- Bend both knees to the right so both legs form 90-degree angles.
- Reach over to the right side with both arms and place your hands on the ground for additional support.
- Lift both knees up and drop them to the other side, keeping your heels planted on the ground. Twist with your arms and torso as well.
- Continue switching back and forth.
Tip
"You can do this with more or less knee flexion, depending on your body's needs," McSpadden-Walker says. Always decrease your range of motion if you feel any pain or anything beyond mild discomfort while doing the 90/90 hip stretch.
3. Half-Kneeling Lunge
- Begin kneeling with your knees directly under your hips.
- Bring your right leg out in front of you so your knee is at a 90-degree angle and directly above your ankle.
- Square your hips to the front and make sure they're level.
- Pull with your front foot to rock forward. Only go as far as feels comfortable.
- Pull back as you straighten your right leg, then repeat as needed.
- Switch legs and repeat.
Tip
"Elevating the lower knee onto a yoga block, bolster or pillow not only helps this be a bit gentler on the kneecap, but it also helps the iliac crests [tops of your hip bones] be more level with each other," McSpadden-Walker says.
"I then 'zip up' my belly before actively pulling myself forward with the foot of the leg in front."
4. Thread the Needle
- Start on all fours, knees below hips and hands below shoulders.
- "Thread” your right arm arm under your chest until your right shoulder rests on the mat with your right palm facing up.
- Make sure your head is turned to the left so that the right side of your face is resting on the mat.
- Press your hips back slightly to accommodate this stretch.
- Relax here for as long as you'd like.
- Repeat on the other side.
Tip
One alternative to the thread the needle exercise is to sit or stand as you draw your right arm across your chest, holding it in place with your left hand at the forearm or upper arm. Then, repeat with the opposite arm.
5. Child's Pose
- Start on all fours, knees below hips and hands below shoulders.
- Sit back on your heels and stretch your arms forward, relaxing your forehead on the floor.
- Feel your lower back, hips and waist lengthening, as you let your body sink into the post.
- Stay here as long as you'd like.
Tip
As McSpadden-Walker demonstrates above, you can also cross your arms above your head, place your forehead on your hands or rest your hands on the back of your neck. Use whichever variation feels best for you.
Or, try this move seated: Sit down with your knees spread and another chair in front of you, stacked with a bolster, pillows or blankets. Lean forward to rest your head on the bolster.
Join the 4-Week Mobility Challenge!
Keep your body moving with the other two workouts in this series:
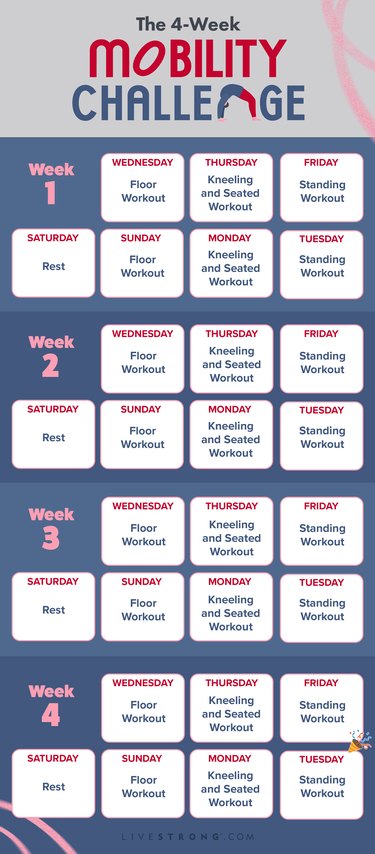
And follow along with the challenge calendar below or head back to the 4-Week Mobility Challenge for more details.